- Security Role
- Individual SMS
- Bulk SMS
- Using Workflows
Guide Sections
Security Role
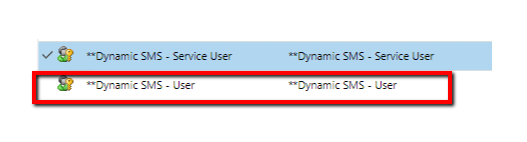
In order to use Dynamic SMS, each user needs to have the Dynamic SMS User security role.
Login to the system as the system administrator and then to Settings, Security and select Users.
Select the user you wish to give access to and click on Manage Roles from the upper menu.
From the list of Security Roles, select Dynamic SMS User and click Ok.
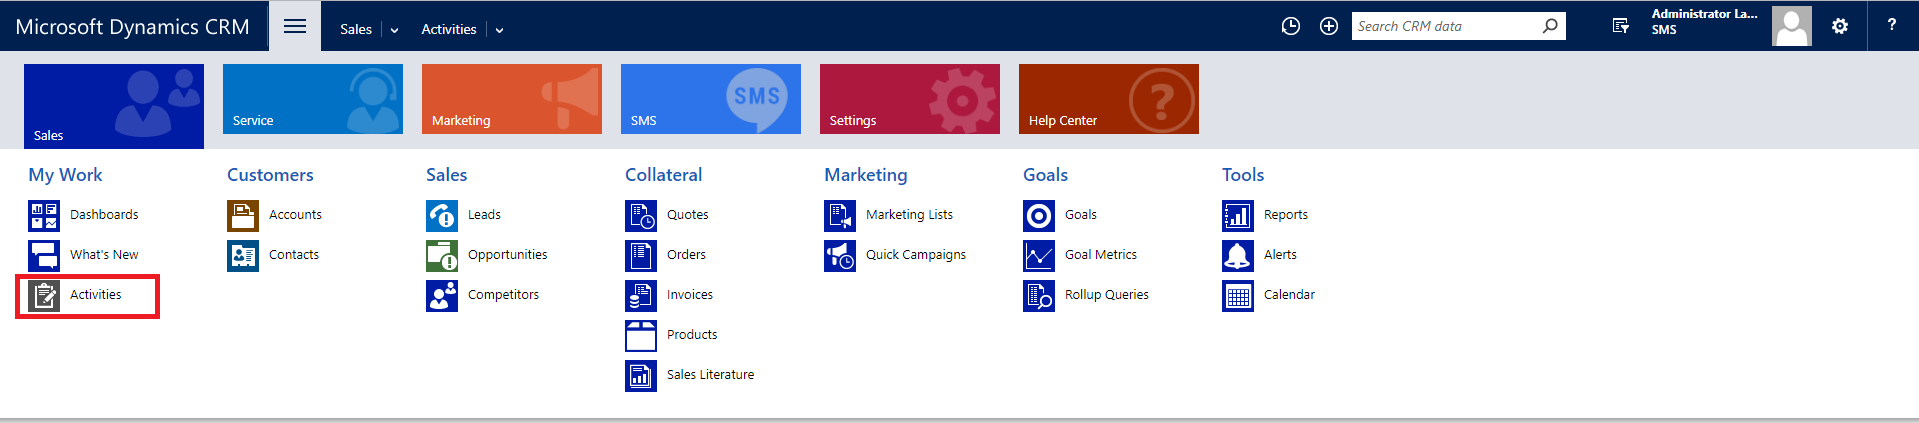
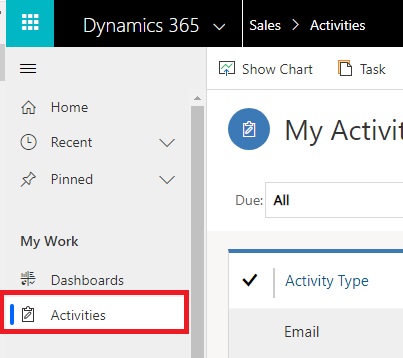
N.B: The legacy interface and the new user interface images are highlighted under each other throughout the guide where applicable.
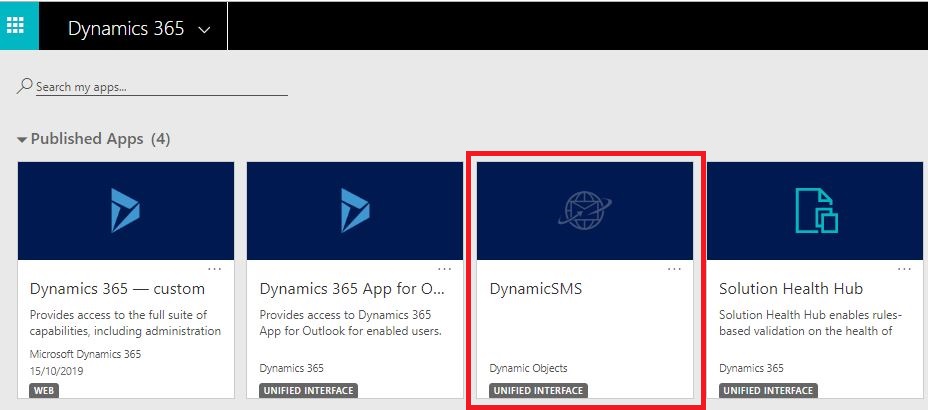
N.B: For the D365 v9.x, DynamicSMS has a separate model-driven app.
Individual SMS
This sections explores creating and sending individual SMS Messages.
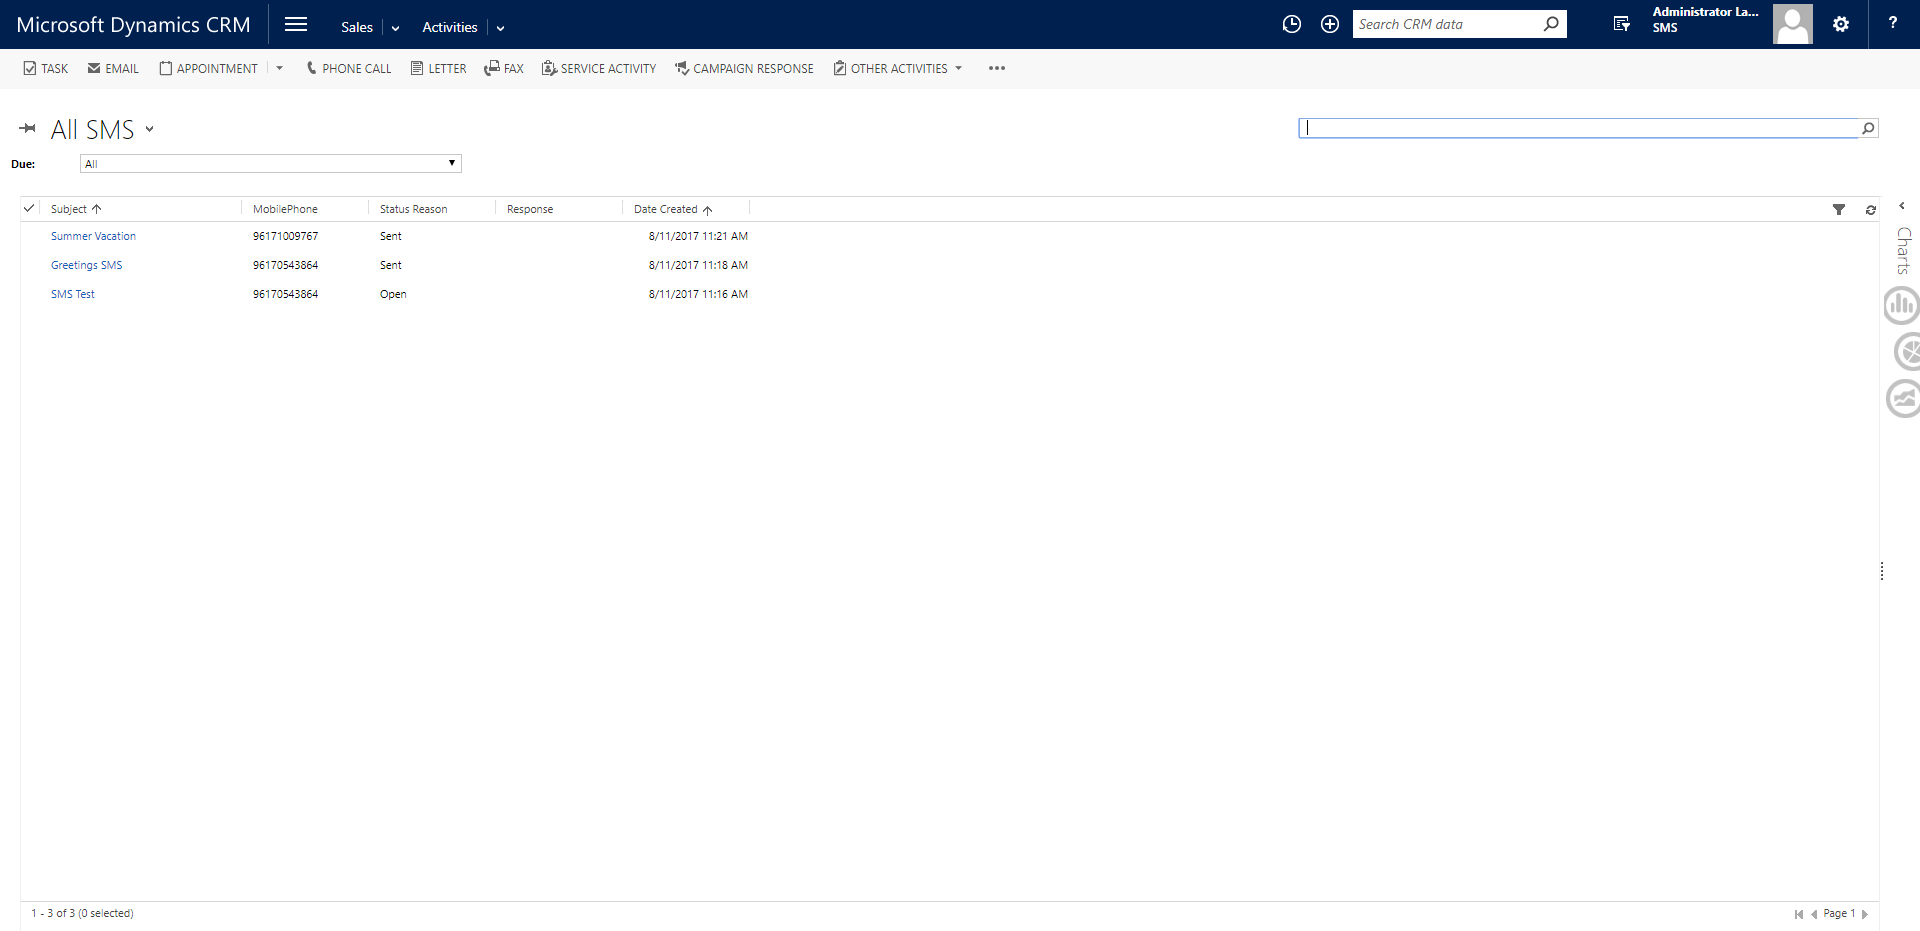
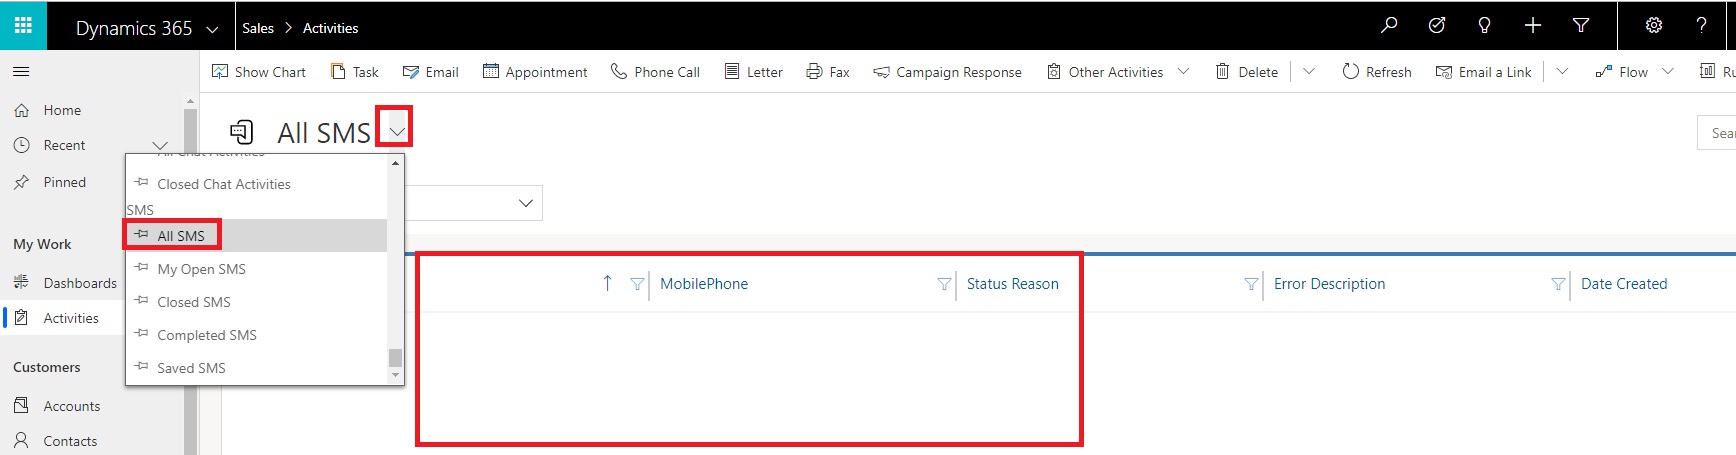
The SMS activity entity contains all SMS messages. Please access the Activities records and select SMS.
The All SMS view displays all SMS activity records.
Create an SMS activity
To create an SMS record, select SMS in OTHER ACTIVITIES.


The following fields should be filled on the SMS activity form:
- Recipient Type: can be any record: Contact, Lead, Account.
- To Contact/Account/Lead: This field is a lookup field, based on the recipient type selection.
- Mobile Phone: Once the previous field is populated, a process will automatically populate this field with the mobile number of the Contact/Account/Lead selected.
- The mobile phone number can be overwritten manually.
- The best format to follow when entering phone numbers manually, and for contact, lead and account records as well is the country code followed by the mobile number. Example: 961########
- Subject: A text field to specify the SMS subject. The content of this field will not viewed by the recipient.
- Message: This text box is used to input the message content.
The Remaining Characters field displays the remaining number of characters
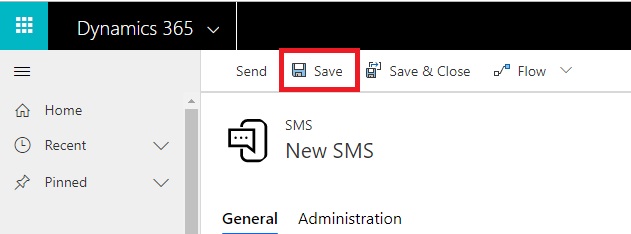
Save the record. The SMS record will be created with Status Reason: Open.

Send an SMS activity
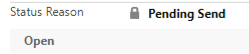
To send an SMS record, press the SEND button. The record's Status Reason will be updated to Pending Send.


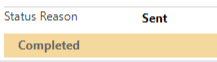
Once the SMS is sent the Status Reason will be updated to Sent and the record will no longer be active: Status: Completed.


Bulk SMS
The "Bulk SMS" entity allows sending the same SMS to a large number of recipients. The bulk SMS record will create individual SMS activity records.
Create a Bulk SMS Record
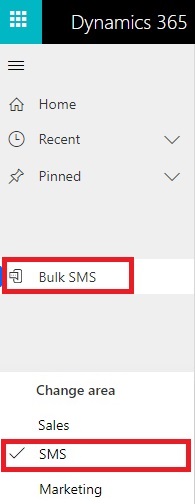
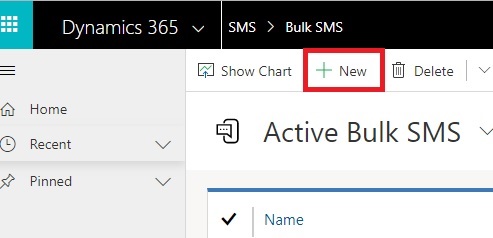
Select the "Bulk SMS" entity.

Press NEW.
The following fields should be filled on the Bulk SMS form:
- Marketing List: Lookup field. Both static and dynamic marketing lists can be selected.
- Subject: A text field to specify the SMS subject. The content of this field will not viewed by the recipient.
- Message: This text box is used to input the message content.
In addition, the Name is a read only filed that will be automatically generated.
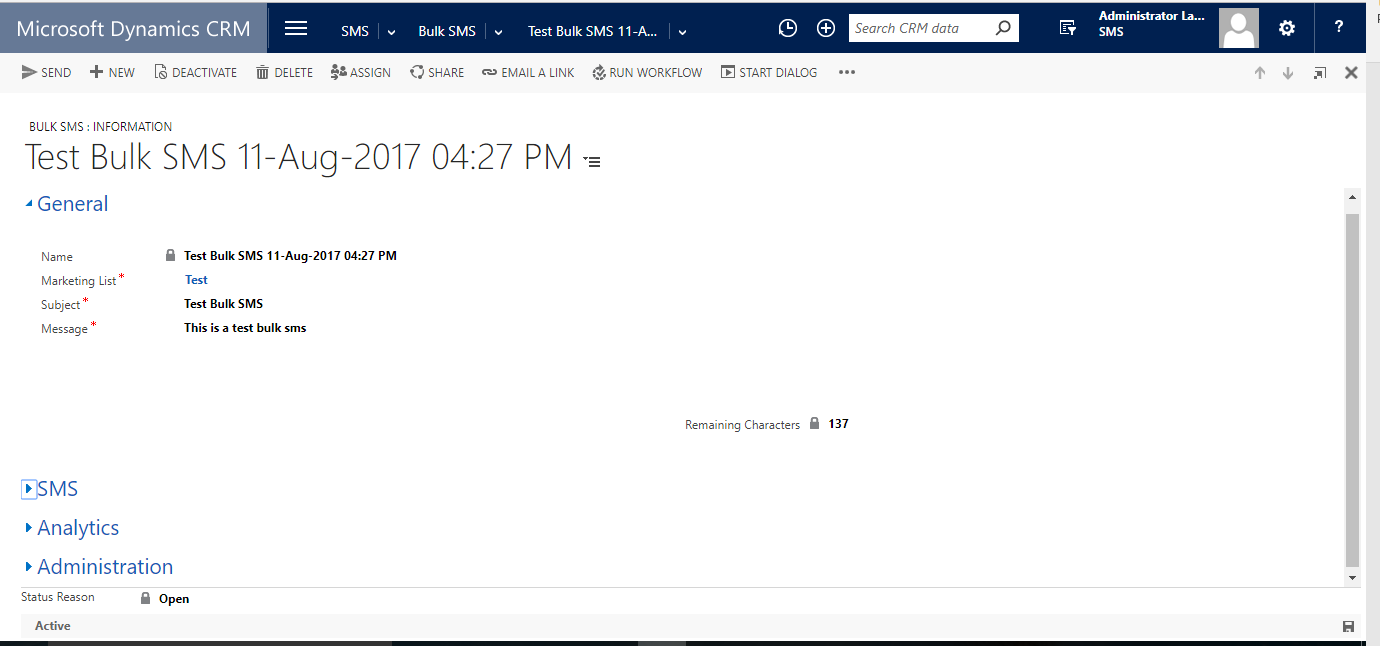
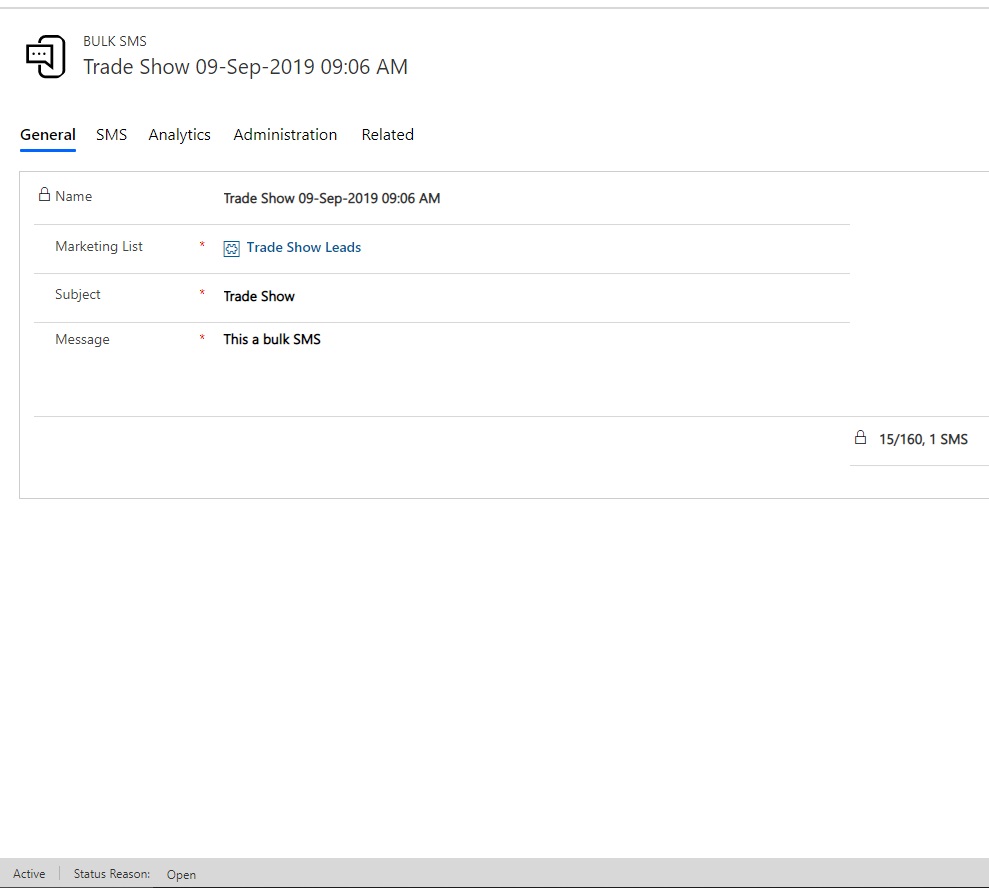
Once the record is created and saved the Status Reason will be Open
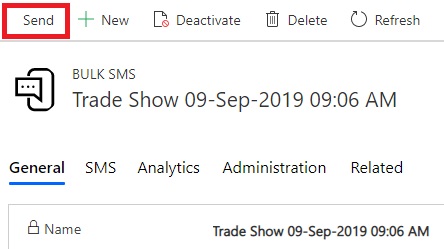
Sending Bulk SMS
Click the SEND button. A process will create an individual SMS activity record for each contact/lead/account on the marketing list assigned.

The Status Reason will be updated to Sending
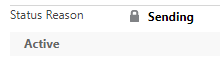

When the process of creating individual SMS records is complete, the Status Reason will be updated to Sent and the record will be Inactive. Note that this implies that all the SMS records have been created not sent.
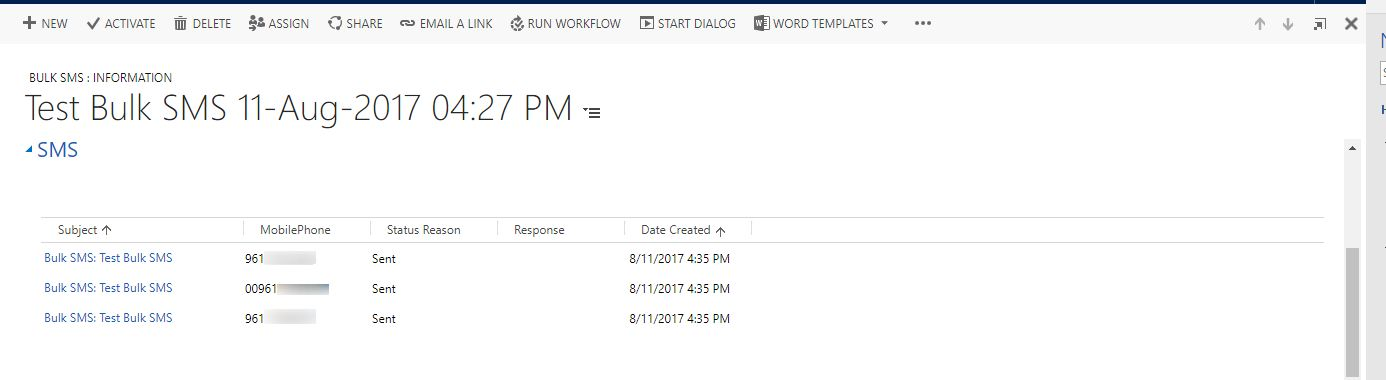
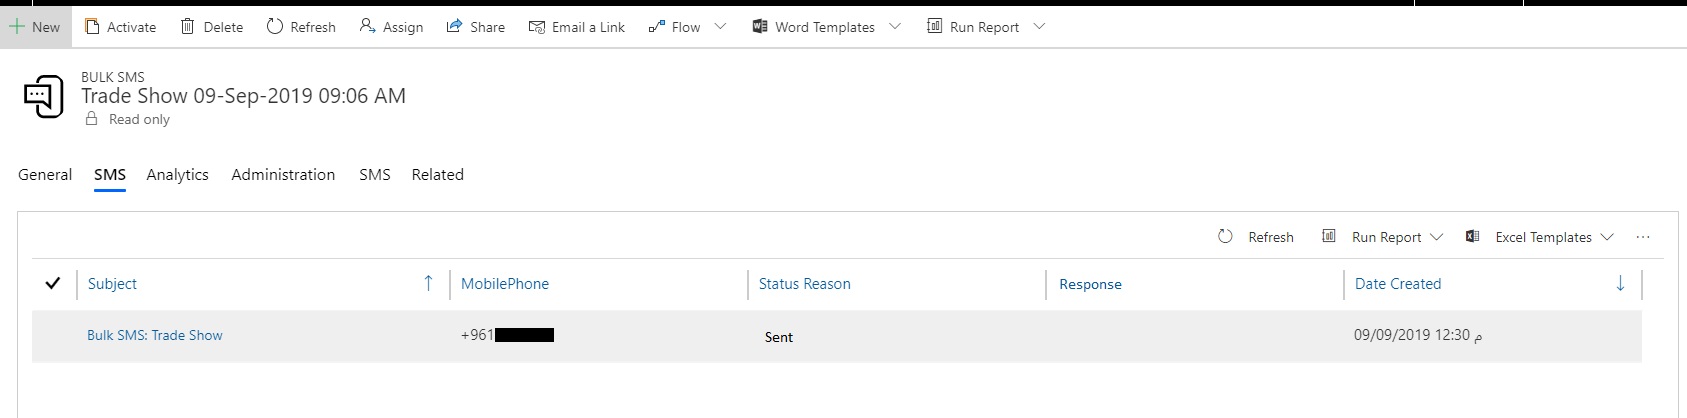
SMS Records
On the Bulk SMS form a sub-grid of individual SMS records displays the status of each record created. The records can be accessed from within the sub-grid.
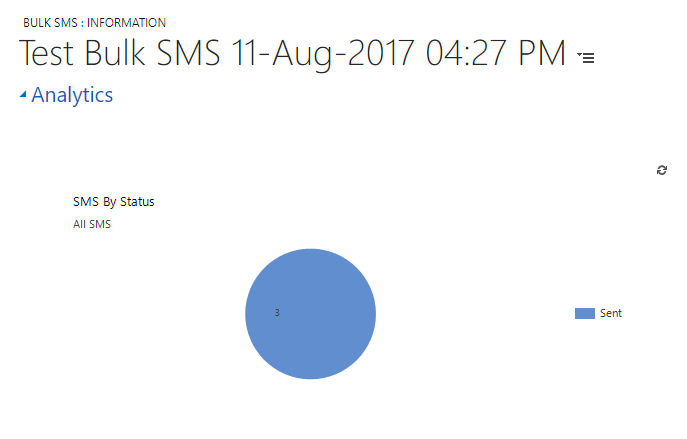
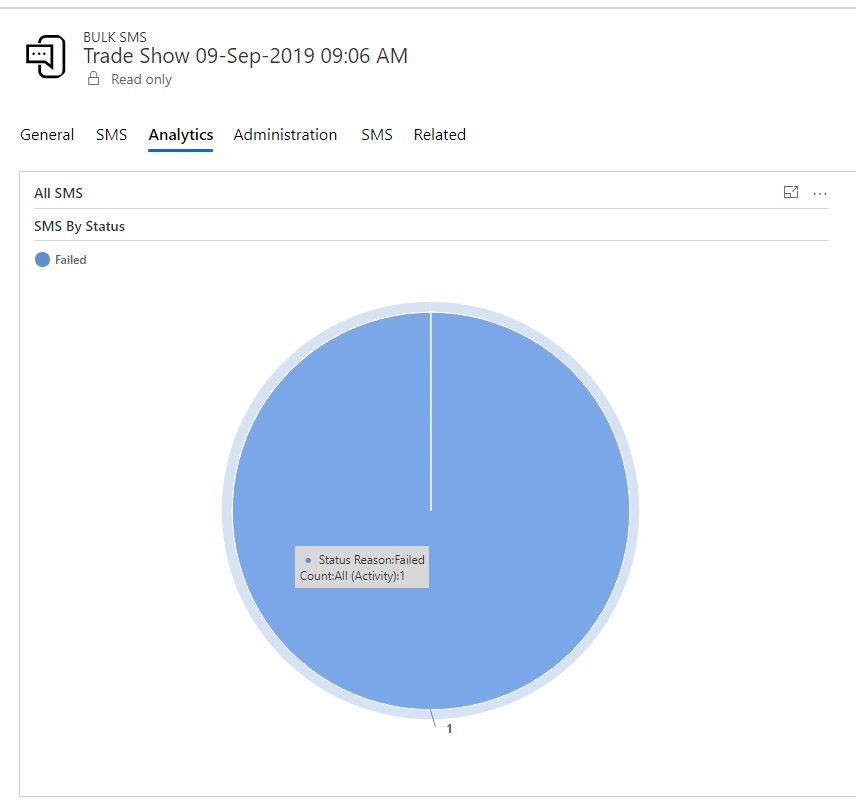
An Analytics section displays chart statistics regarding the Bulk SMS record.
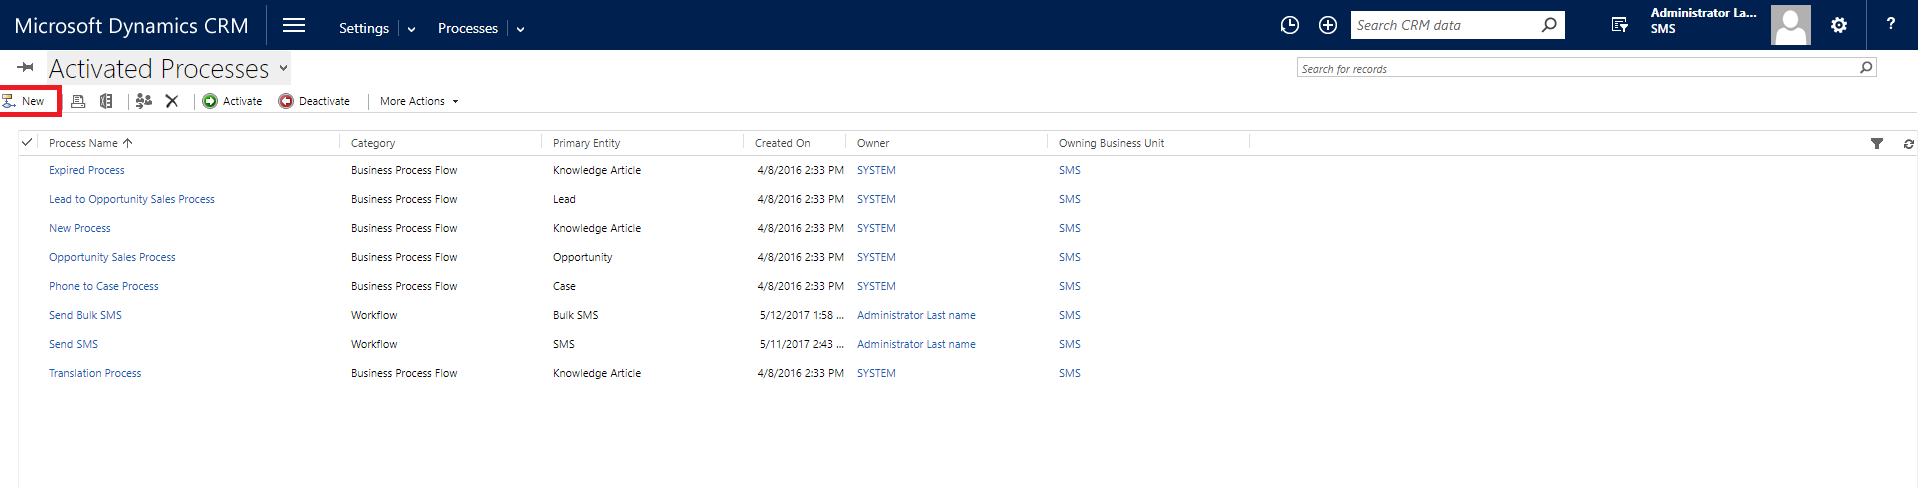
Using Workflows
This section explores sending automated SMS messages using Microsoft Dynamics CRM/365 workflows.
Go to "Settings" and Select "Processes". Press New to create a new workflow record.
Name the process, specify the Entity and select the Category: Workflow.

You can create different conditions and triggers for sending an SMS message.
The below steps provide an example on how to incorporate an SMS message inside a workflow:
- 1.Add a Create Record step.
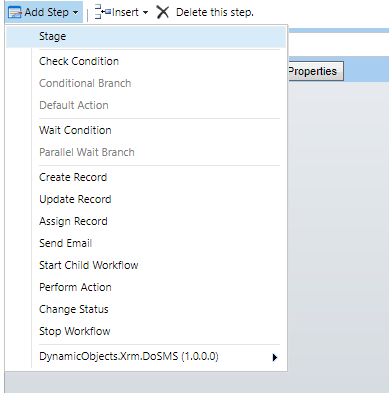
- 2.Select SMS as the entity type.

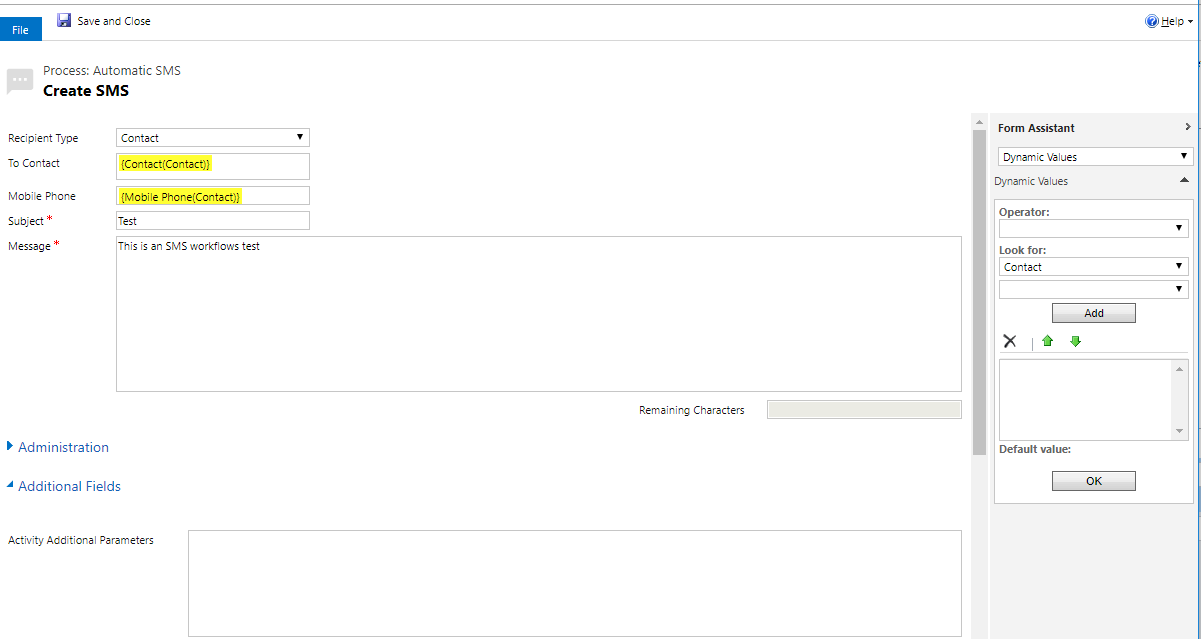
- 3.Select Set Properties
- 4.Set the following fields in the Properties dialog
- Recipient type: Contact/ Account/ Lead
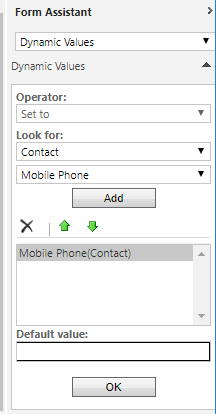
- To Contact: Lookup for Contact/ Account/ Lead. Set the field using the Form Assistant

- Mobile Phone: Set the field using the Form Assistant
- Subject: A text field to specify the SMS subject. The content of this field will not viewed by the recipient.
- Message: This text box is used to input the message content
- 5.Save and Close
- 6.Change the status record to pending send
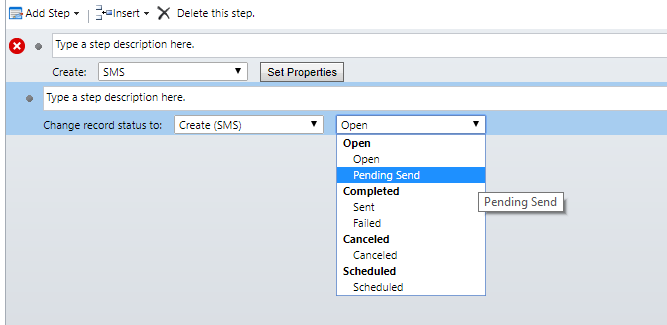
- a.Add a Change Status step
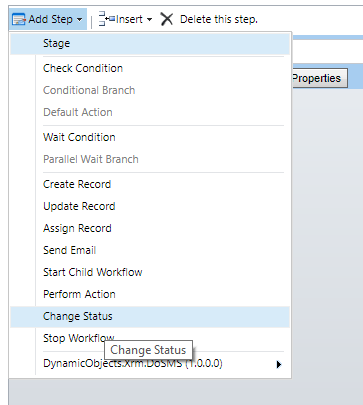
- b.Select Create(SMS)
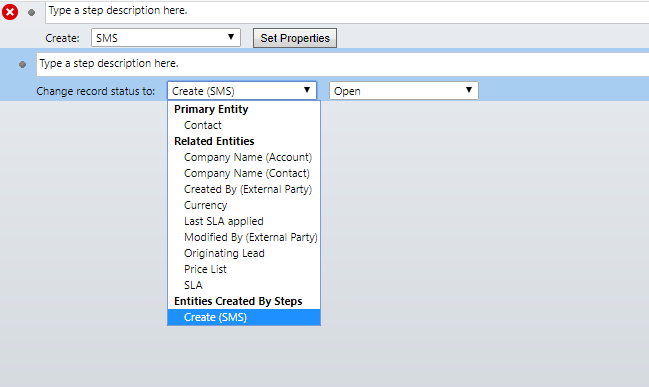
- c.Set to Pending Send
- 7.Save
- 8.Activate the workflow.