- Import
- Registration
- Configuration
- Subscription
Guide Sections
Import
Please follow the below steps in order to start the import process:
1.Go to the Download button on the solution page and download the latest solution zip file.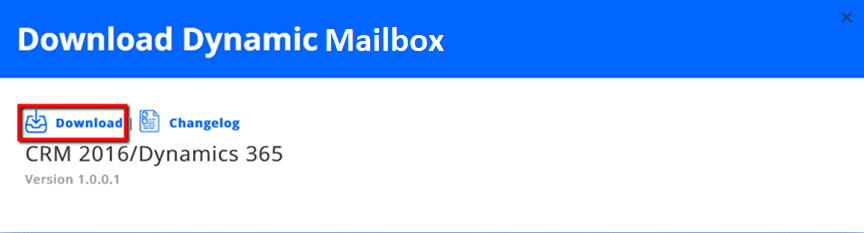
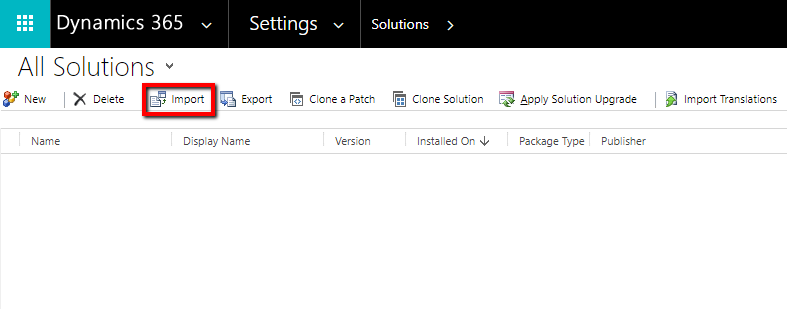
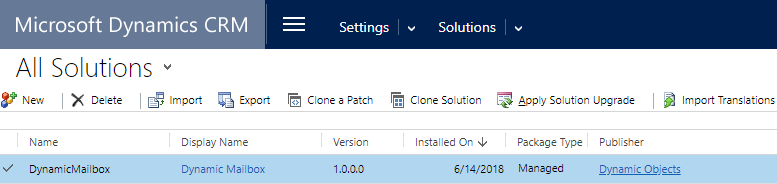
2.Login to your Microsoft Dynamics CRM/365 organization and head to Settings -> Solutions and click on the Import button.
3.Select the solution file that you downloaded in Step 1 and Press Next.

4.Verify that you imported the correct Solution by checking the solution information and package details and press Next.

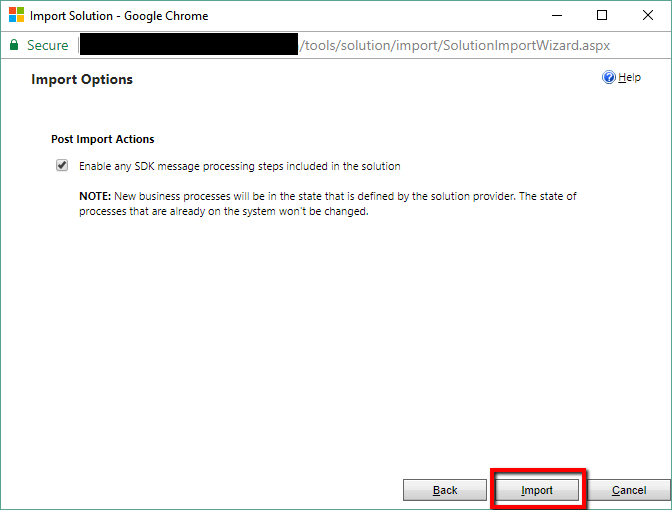
5.Please make sure that the "Enable any SDK message processing steps included in the solution" option is selected and select Import.
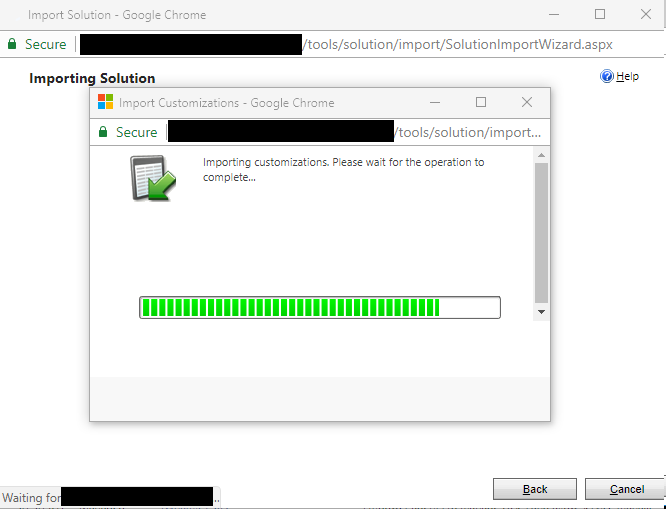
6.The Solution import process will start. Please wait around 5 minutes for the solution import process to complete.
7.Once the import is complete, you will see a screen with an overview of the import and components. Please click Close and proceed to Solution Registration.

Registration
1.When the import process is complete, please double click on the solution imported to start the registration process.
2.Please fill-in your details in the Information section and make sure to enter the correct email details in order to receive important updates about the solution.

In the Credentials section, please type in the appropriate user with the required security role which will be used to renew your subscription. This user needs to be allocated the DynamicMailbox Service User role.
Once all the information is entered, please click Submit and you are subscribed for the 30-days trial.

Configuration
Now that you successfully registered your solution, you need to click on the Configuration tab to configure navigation entities, you can select up to 5 entities.
Click Save once you select the entities you need.

Subscription
The trial solution will expire after 30 days; thus, you need to subscribe in order to continue using the solution features. The steps are as follows:
- Under Register section click Subscribe.
- In the Payment Plan section, select your preferred payment plan Monthly or Yearly
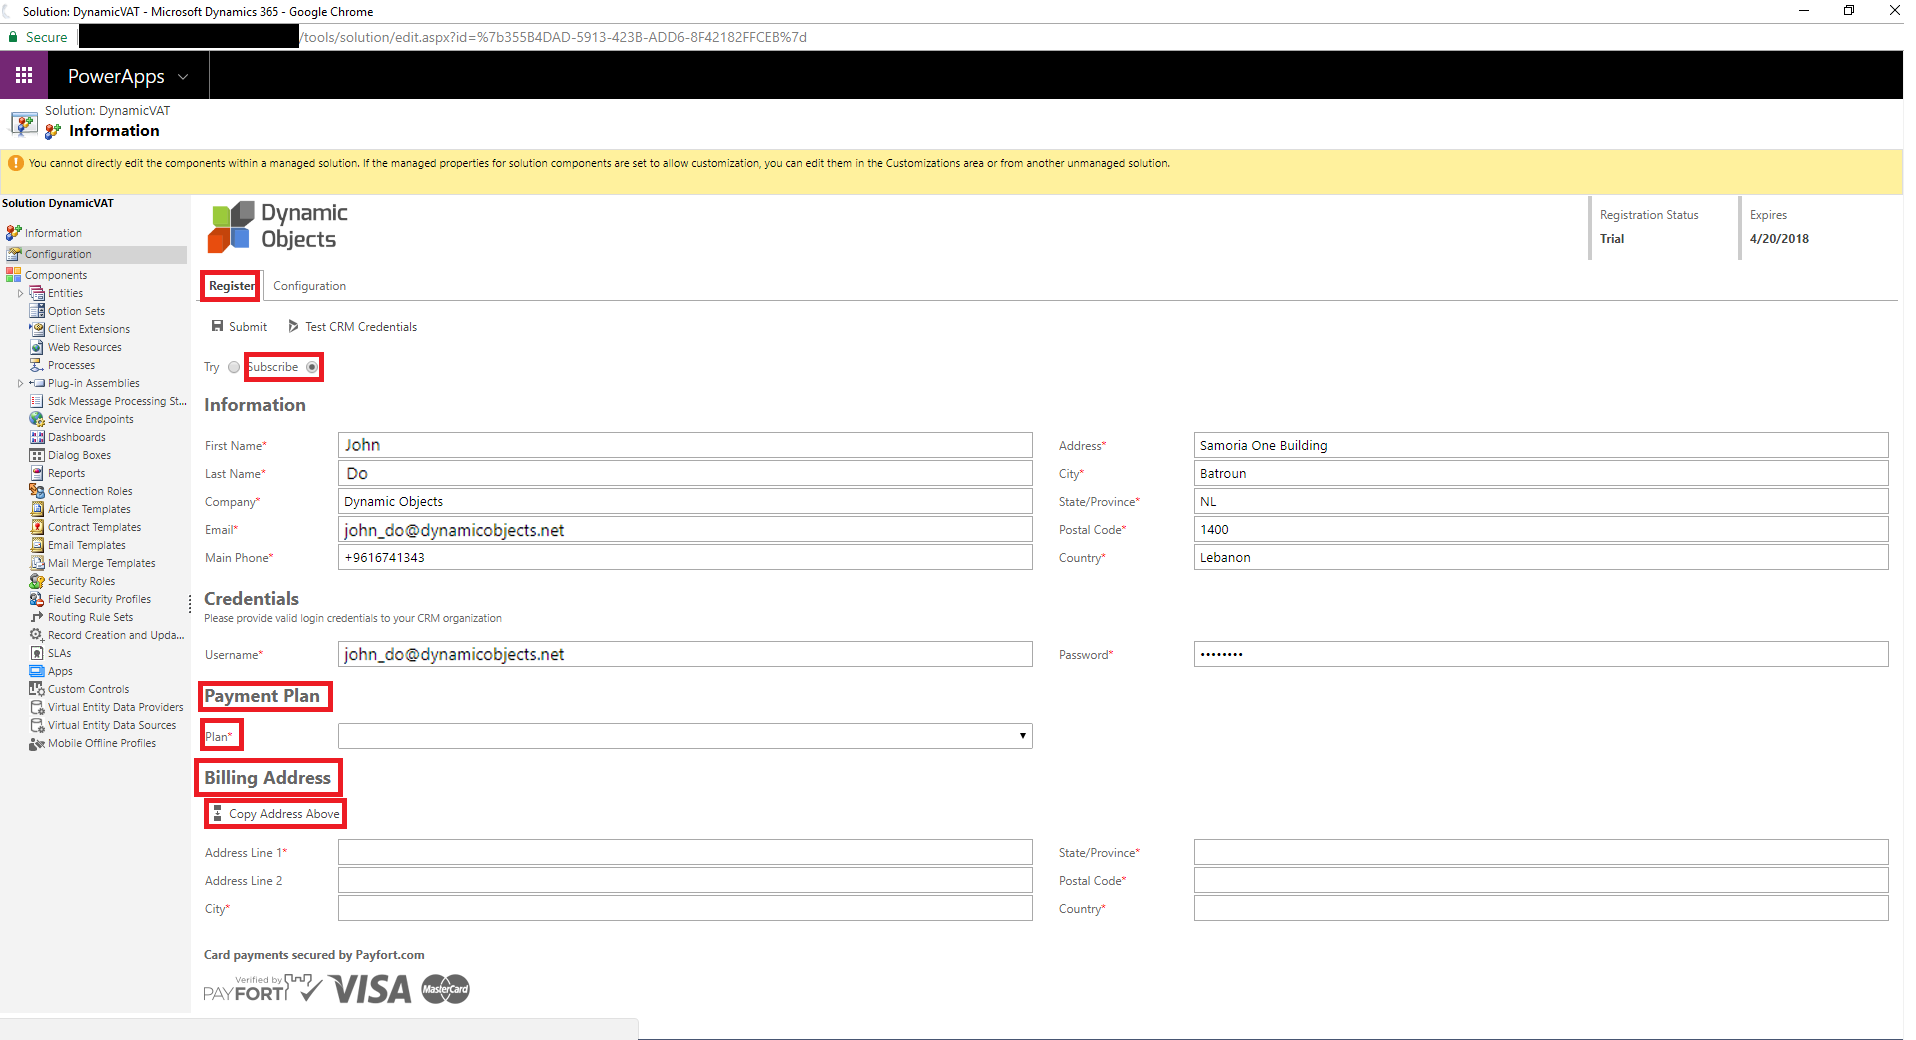
- In the Billing Address Section, Enter the billing address. You can use the Copy Address Above button to automatically copy the address details entered above or enter a different billing address.
- Once a Plan is selected and the billing fields are filled, press the Submit Button and you will be presented with the End User License agreement. Please read it carefully and press Accept to continue to the payment page.

- The payment page lists the amount that you will be billed depending on your selected plan (Monthly or Yearly).Enter your Card Number, Expiration Date, CVV and Cardholder Name and press the Pay Button (We currently support only visa and Mastercard as payment methods.)

If the payment is Successful, you will be routed to the Configuration Page and the solution is extended for another period as per your selection (Month or Year).
The Payment Method section lists the masked card details so you keep track of the payment details used.
Please note that the solution will automatically renew every month/year on the expiration date.
If you wish to stop using the solution, please click on the Unsubscribe button and confirm.
The solution will remain active until the expiry date.
